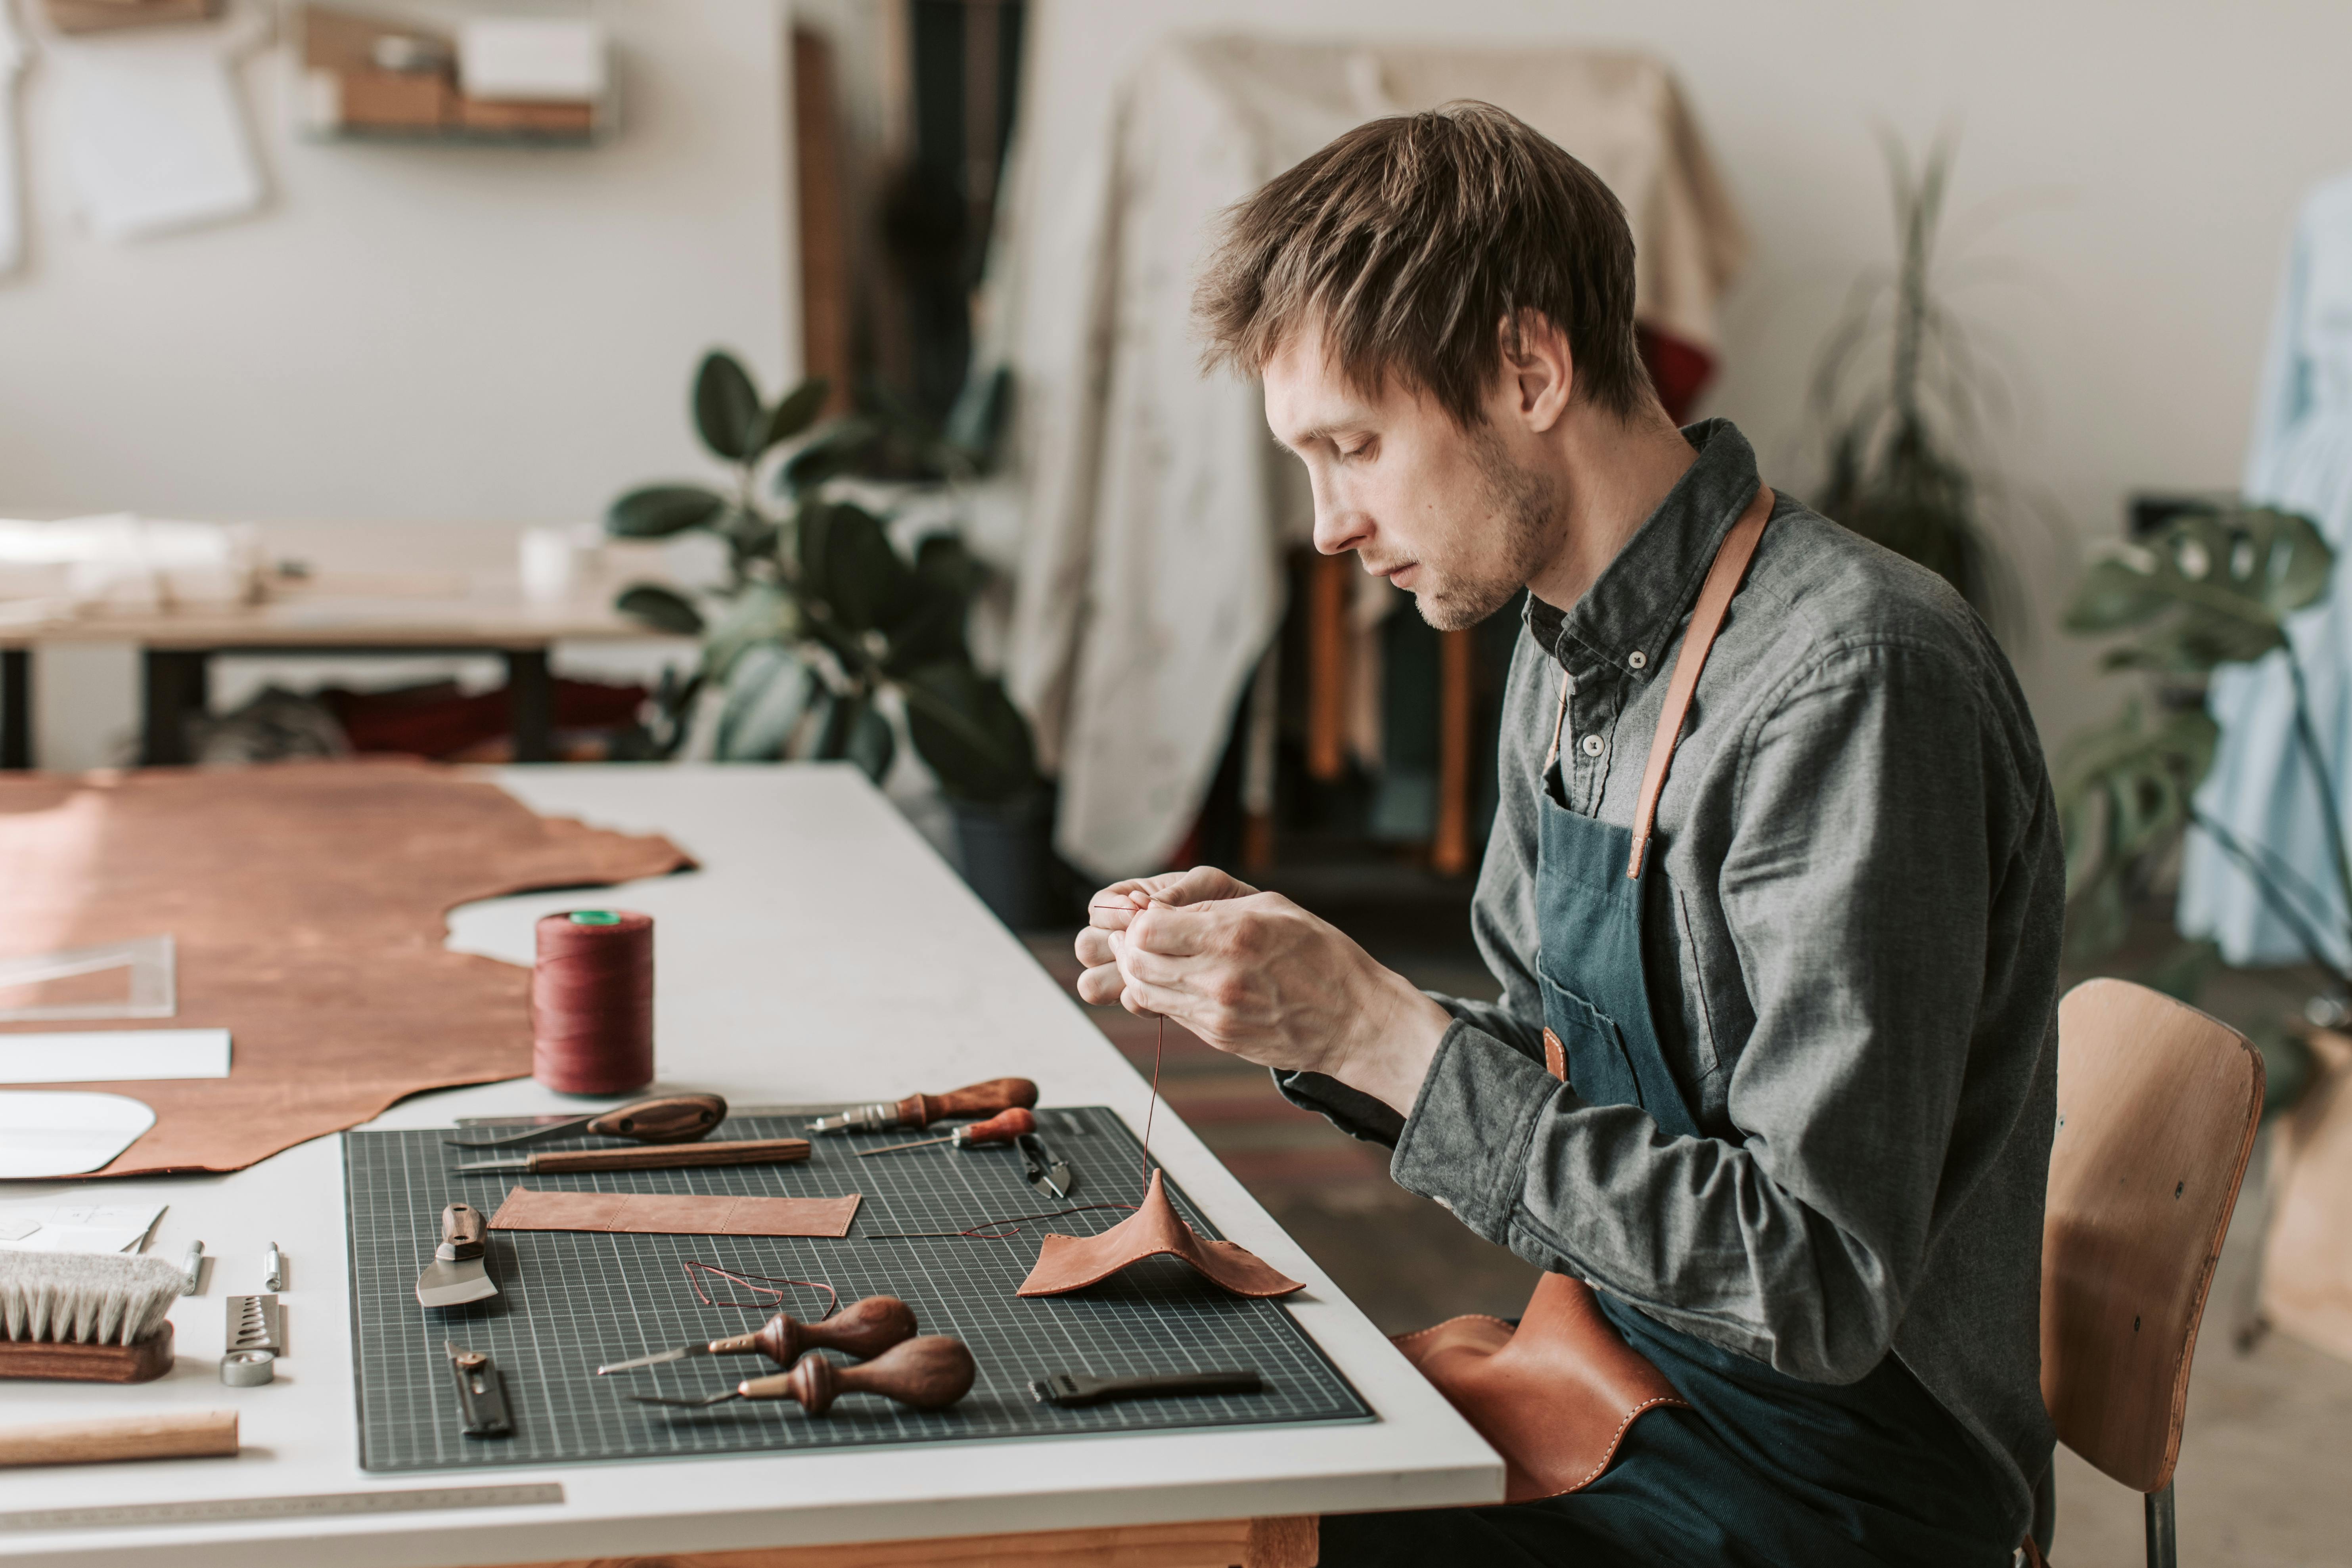
Leathercraft is a timeless craft that combines artistry, precision, and functionality. Whether you're looking to make custom belts, wallets, bags, or simply want to explore a new hobby, Leathercrafting offers a rewarding experience that allows you to create durable and beautiful pieces. In this introductory guide, we'll cover everything you need to get started, from the essential tools to various techniques and tips to help you embark on your Leathercrafting journey.
Why start leathercrafting
There are many reasons to dive into the world of Leathercraft. Here are a few to consider:
- Creativity and Self-Expression: Leathercrafting provides a canvas for your creativity. You can design and craft unique items that reflect your personal style.
- Durability and Quality: Leather is a robust material that, when properly cared for, can last for generations. Creating items from leather ensures you're making something that will stand the test of time.
- Skill Development: Leathercrafting hones your fine motor skills, attention to detail, and patience. It's a craft that requires practice and precision.
- Satisfaction: There's a deep sense of accomplishment in crafting something with your own hands. Every finished project is a testament to your hard work and skill.
Types and weights of leather
Leather comes in various types and thicknesses, each suitable for different projects:
Vegetable-Tanned Leather:
This type of leather is tanned using natural tannins from plants. It's ideal for carving, stamping, and dyeing.
Chrome-Tanned Leather:
Tanned using chromium salts, this leather is softer and more pliable. It's commonly used for upholstery and fashion items.
Full-Grain Leather:
The highest quality leather that includes the entire grain layer. It's durable and develops a beautiful patina over time.
Top-Grain Leather:
The second-highest quality, where the top layer of the hide is sanded and buffed to remove imperfections.
Split Leather:
Lower quality, made from the lower layers of the hide. Often used for suede.
Vegan leather:
Made from Synthetic material or plant fibres this is an alternative to the use of animal skins and is growing in demand due to environmental and animal welfare concerns with traditional leather.
Leather Weights and common uses
Leather thickness is traditionally measured in ounces. Choose the thickness based on your project needs. The thickness of leather is usually measured in inches or millimetres depending on where you live. Select the appropriate leather weight depending on its intended use, with thinner leather being more flexible and suitable for smaller projects like wallets, purses or journal covers.
A useful approximation is
1oz = 1/64” or 0.4mm
1mm or 3/64” =2.5oz
|
Weight |
Use |
|---|---|
|
1-2oz |
Thin purses, small pouches, thinner wallets, linings, bookmarks, watch bands, shoes, boots and moulding |
|
2-3oz |
Thin purses, small pouches, wallets, linings, bookmarks, thicker watch bands, shoes, boots, moulding, embossing, light upholstery for chairs, couches and other seating |
|
3-4oz |
Smaller handbags and purses, pouches, thicker wallets, shoes, boots, light notebook covers, moulding, embossing, standard upholstery for chairs, couches, and other seating |
|
4-5oz |
Smaller handbags and purses, pouches, shoes, boots, notebook covers, smaller knife sheathes, keychains, wrestling masks, light chaps and light aprons |
|
5-6oz |
Smaller handbags and purses, thicker pouches, shoes, boots, notebook covers, smaller knife sheathes, keychains, wrestling masks, chaps and light aprons. |
|
6-7oz |
Handbags and purses, thicker pouches, bags and duffels, carrying cases, shoes, heavier boots, thin belts, larger notebook covers, knife sheathes, keychains, heavier chaps, aprons, thin armour, thin sword and bayonet scabbards |
|
7-8oz |
Typical handbags and purses, thicker pouches, bags and duffels, carrying cases, thicker shoes, heavier boots, belts, light slings, light pet collars, light straps, large notebook covers, knife sheathes, keychains, thick aprons, thin armour, sword and bayonet scabbards |
|
8-9oz |
Typical handbags and purses, bags and duffels, saddle bags, carrying cases, belts, slings, pet collars, straps, heavier notebook covers, knife sheathes, keychains, Armour, holsters, sword and bayonet scabbards |
|
9-10oz |
Larger handbags and purses, bags and duffels, saddle bags, carrying cases, heavier belts, slings, pet collars, straps, knife sheathes, keychains, armour, holsters, sword and bayonet scabbards |
|
10-11oz |
larger handbags and purses, thicker bags and duffels, saddle bags, thicker carrying cases, heavier belts, slings, pet collars, straps, light saddles, heavy knife sheathes, keychains, thicker armour and holsters |
|
11-12oz |
heavy handbags and purses, thicker bags and duffels, thick saddle bags, thicker carrying cases, heavier belts, thicker slings, heavy slings, thick pet collars, straps, light saddles, heavy knife sheathes, keychains, thicker armour and holsters |
|
12-13oz |
heavy handbags and purses, thicker cases, heavier belts, thicker slings, heavy slings, thick pet collars, thicker straps, typical saddles, keychains, thicker armour and holsters |
|
13-14oz |
Light shoe heels, light shoe soles, thick belts, light machine belting, straps, typical saddles, tack and heavy armour. |
|
14-15oz |
Shoe heels, shoe soles, thick belts, machine belting, straps, heavy tack and heavy armour |
|
15+ oz |
Shoe heels, shoe soles, thick belts, straps and heavy armour |
Different Leather Finishes
The finish on leather affects its appearance and durability:
Natural:
An unfinished leather that can be dyed and finished.
Aniline:
A natural finish that showcases the leather's grain. It's soft and develops a patina but is less resistant to stains.
Semi-Aniline:
A light protective coating is added, offering better stain resistance while retaining a natural look.
Pigmented:
A protective coating and colour are applied, making it more resistant to wear and stains.
Pull-Up:
Treated with oils and waxes, this leather shows colour variations when stretched or pulled.
Basic Tools You Will Need
Before you start, it's essential to have a flat, sturdy, well-lit work surface to use, and gather the right tools.
Here are the basic tools and materials you will need:
- Cutting Mat
- Steel Rule
- Rotary cutter or utility knife
- Scratch awl
- Needles
- Stitching groover
- Marking wheel
- Callipers
- Edge beveller
- leather punches
- punching board
- Nylon mallet
- Edge burnisher
- Lighter
- Leather
- Thread
- Beeswax
- Edge coat
- Glue
- Dye (if using raw lather)
- Wool daubers
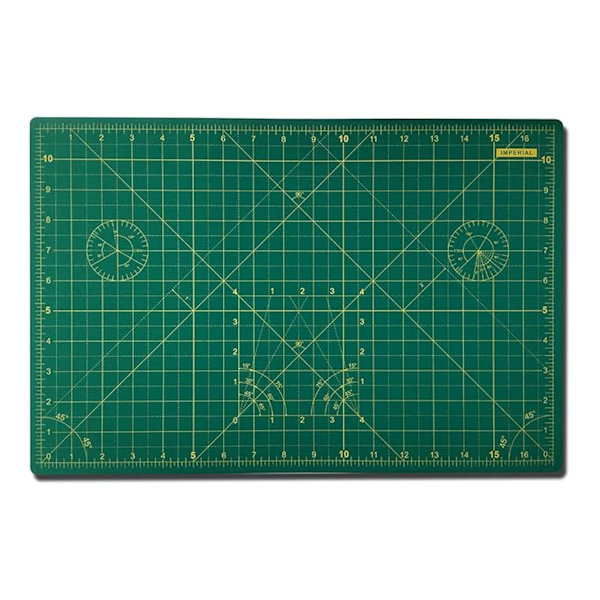
Cutting Mat:
A self-healing cutting mat protects your work surface and extends the life of your blades. Buy a mat big enough for the pieces you will be cutting
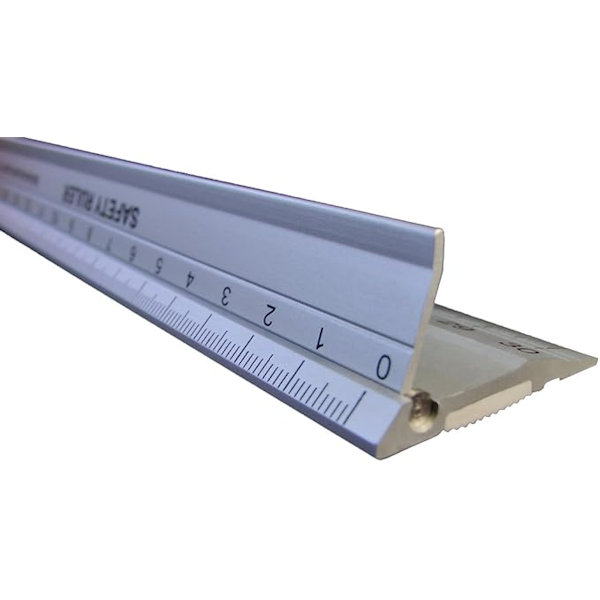
Steel Ruler:
A sturdy ruler helps in measuring and guiding cuts. Its best not to use plastic rulers as the edges can be damaged during cutting and then don’t give a clean-cut edge.
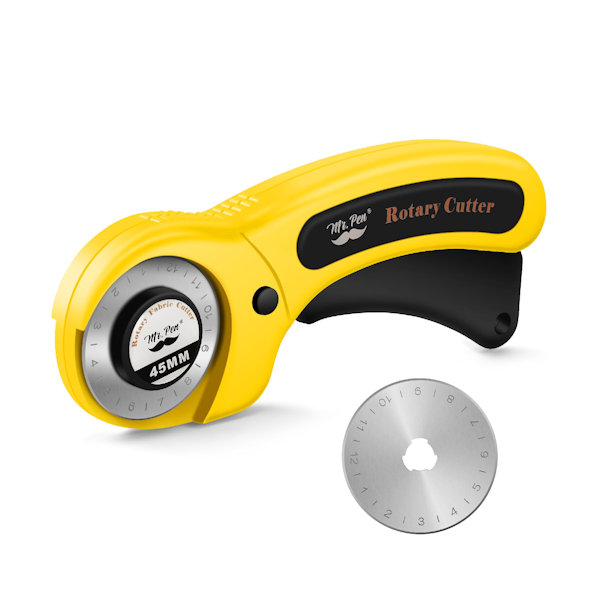
Rotary Cutter or utility knife:
These are used to cut the leather. A sharp blade ensures clean cuts. Rorary cutters are good for long straight cuts and utility knives for curves and corners.
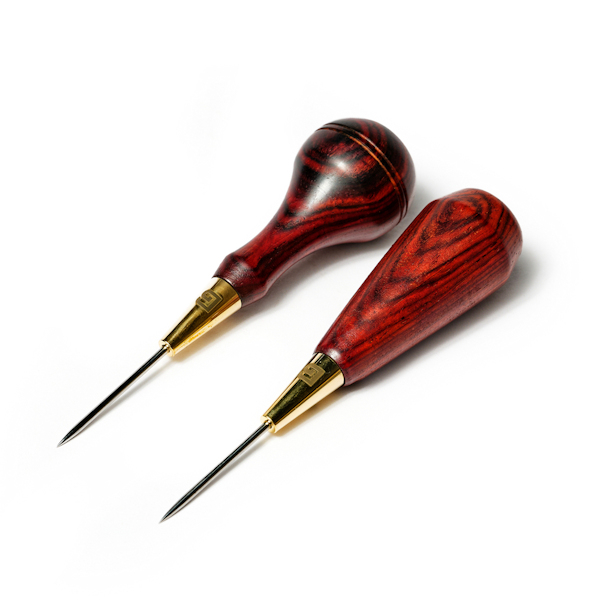
Leather / scratch awl:
Used to make individual stitching holes when hand stitching or to mark the leather when cutting.
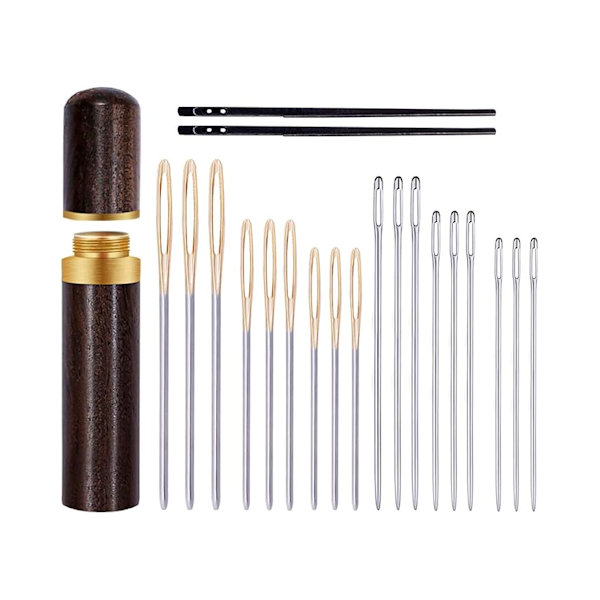
Needles:
Strong, blunt needles designed for stitching leather. You will need 2 needles for saddle stitching. Needles come in different thicknesses (Gauges) to match different stitching holes and thread sizes. Finer needles are typically used for smaller projects like wallets and purses
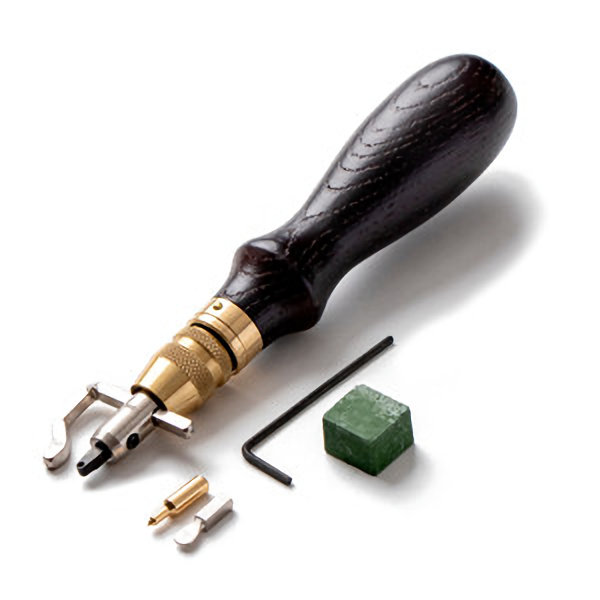
Stitching Groover:
This tool creates a groove along the line you will be stitching, ensuring the thread sits neatly protected within the leather. With the stitching in a groove, it is less likely to suffer abrasion and get damaged.
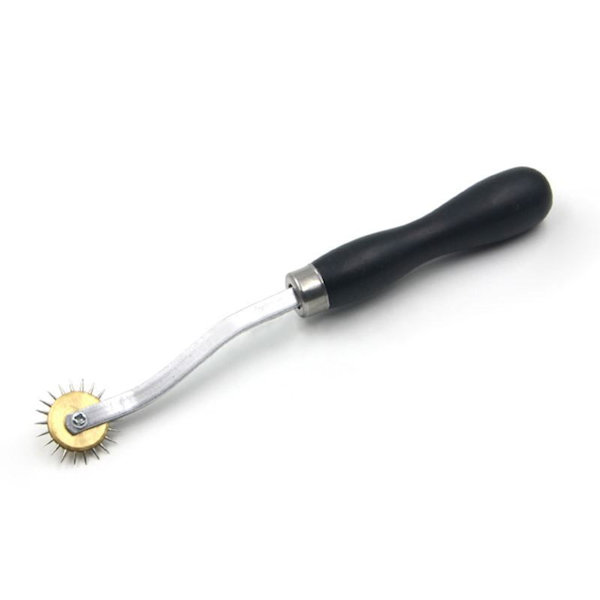
Marking wheel:
These simplify the process of marking the location of stitching holes and come in various sizes for different stich lengths. (hole separations). An alternative is to use a ruler and scratch awl or dividers to mark hole positions.
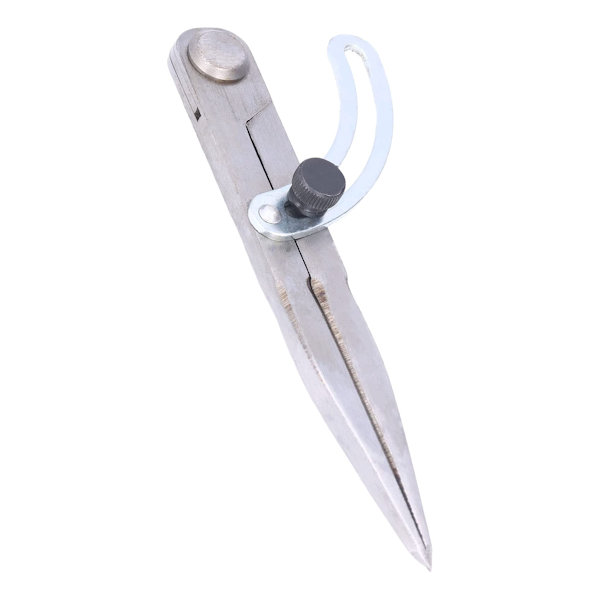
Measuring Callipers or dividers:
Used for marking lines for stitching, skiving or gluing from an edge. Although not absolutely necessary they make measuring and marking from edges and centre points much easier.
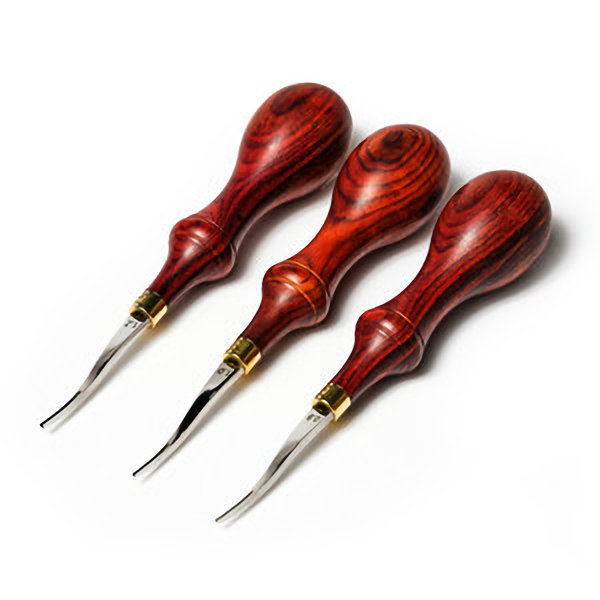
Edge Beveler:
This tool rounds off the edges of your leather pieces, giving them a polished look. Edge bevels come in different sizes to match the thickness of the leather, and the amount of bevel desired on the edge. Typical sizes are
#0 (0.6mm groove) - Works on leather 0.8-1.2mm (2.0-3.0oz) and up.
#1 (0.8mm groove) - Works on leather 1.2-2.0mm (3.0-5.0oz) and up.
#2 (1.0mm groove) - Works on leather 1.6-2.6mm (4.0-6.5oz) and up.
#3 (1.2mm groove) - Works on leather 2.2-3.2mm (5.5-8.0oz) and up.
#4 (1.4mm groove) - Works on leather 2.6mm+ (6.5oz+) and up.
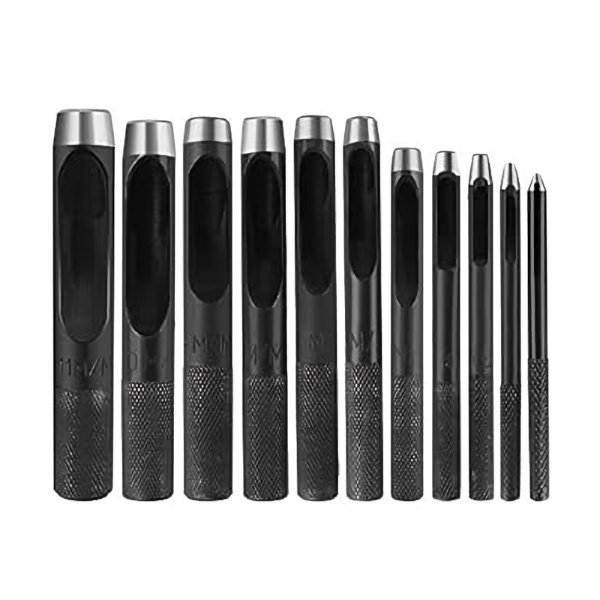
Leather Punches:
Used for making holes in leather for stitching or adding hardware like rivets and snaps.
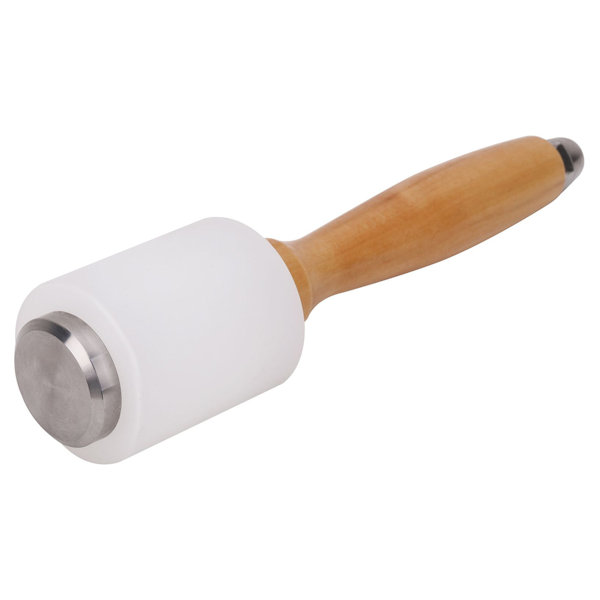
Mallet:
A non-marring mallet is used to strike tools without damaging them or the leather. Typically made wooden handles with nylon or leather heads.
Punching Board:
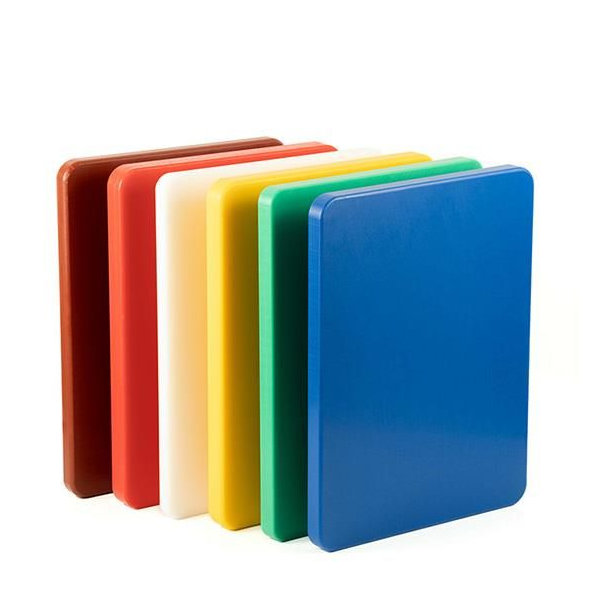
A sturdy and solid board used to protect the workbench when using hole punches or chisels. Boards are typically a medium hard wood like beech or a high density plastic that prevent the punches from getting damaged but sturdy enough that they don’t absorb the mallet blow (and reduce effectiveness) . Wood and HDP Food preparation cutting boards can be used for this.
Burnishing Tool / edge slicker:
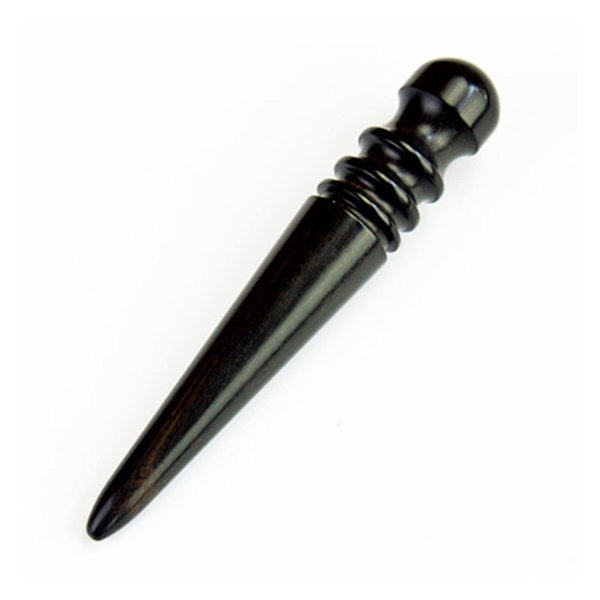
A wooden or bone tool used to smooth and finish the edges of the leather.
Lighter:
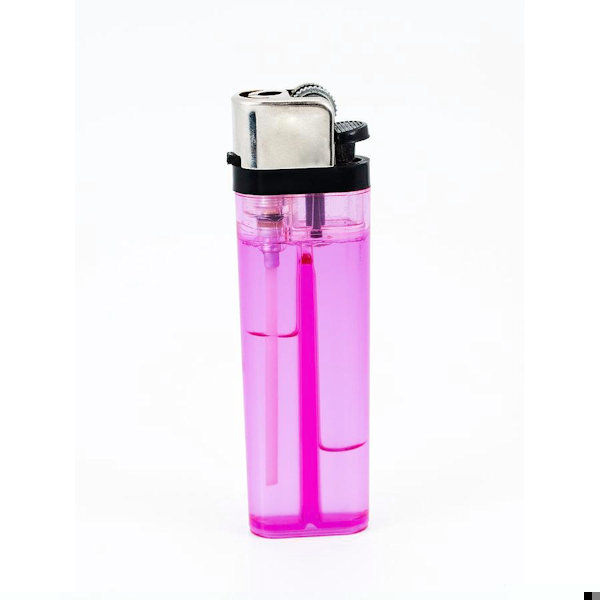
Used to melt the ends of polyester thread to make thread joins or ends tidy and reduce the risk of them coming loose.
If you’re just starting out and not sure that you will like Leathercrafting, I’d recommend buying a cheap starter kit that includes all the basic tools you need. This will keep costs down initially and help you get started quickly. Bear in mind these kits won’t contain quality tools that will last or stay sharp forever – as you progress you will instinctively want to buy better quality tools that will last longer and give you more pleasure when using and maintaining them.
Basic materials and consumables you will Need
- Leather
- Thread
- Beeswax
- Edge coat
- Glue
- Dyes
- Wool daubers
Leather:
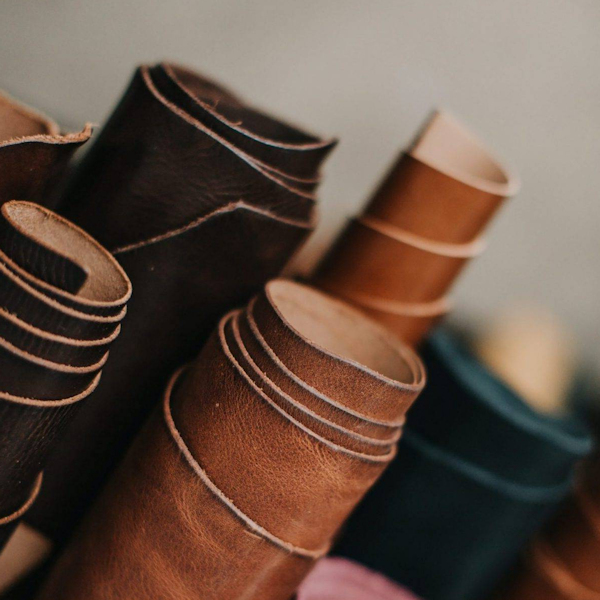
Leathers can be bought from craft suppliers or directly from leather merchants of tanneries. Select the thickness and finish you require for your project. Craft suppliers typically leather offcuts or smaller pieces. If you are buying from a tannery or leather merchant you will typically buy hides or part of a hide (a shoulder, side, butt, half butt or full hide). Remember that as a natural product not all of the hide may be usable due to different thicknesses, holes or blemishes, so account for this when purchasing.

Thread:
Waxed polyester thread is commonly used in Leathercrafting for its strength and durability. Threads come in different thicknesses and colours. Thinner threads are typically used for smaller items.
Beeswax:
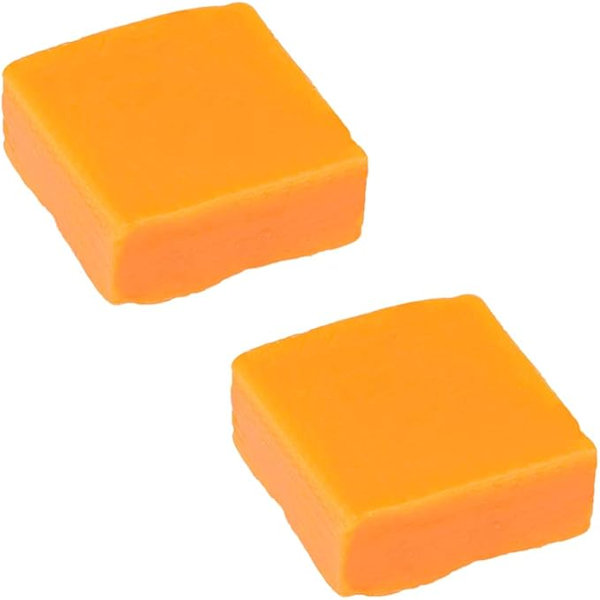
Used to condition thread and make it easier to work with.
Edge coat:
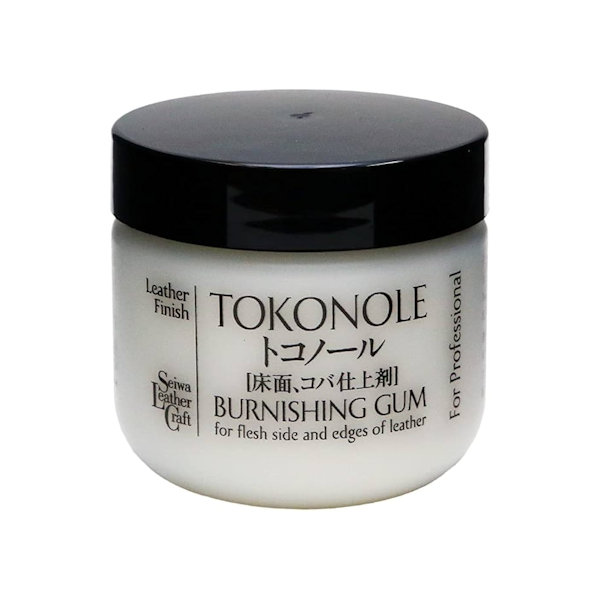
Used to seal the edge fibres and when burnished provides a durable smooth edge to the leather. Especially important for items that will be regularly handled by the user. It gives a quality feel to the product.

Glue:
PVA is non toxic, cheap and readily available and a good choice for small projects in conjunction with stitching. If stronger joints are needed or when using heavy weight leather than a contact adhesive may be more appropriate.
Dyes:
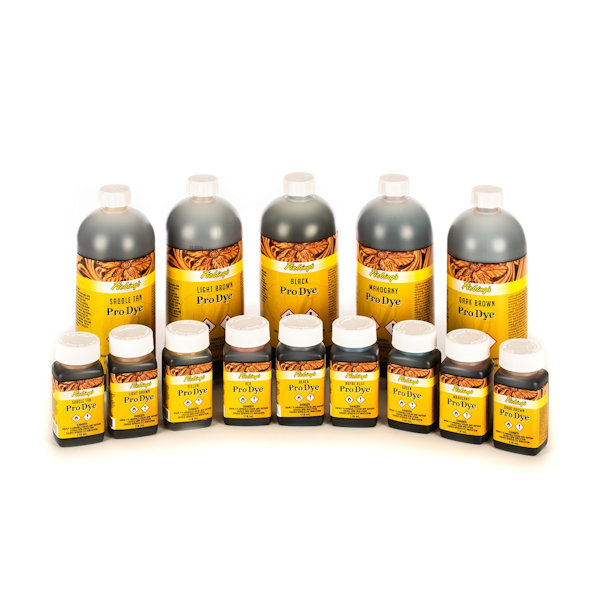
If you are starting with raw leather then you will need to dye the leather. Dyes are typically oil or water based and come in many different colours. Dyes can be applied with a cloth for larger areas or a wool dauber or roller pen for edging
Wool daubers:
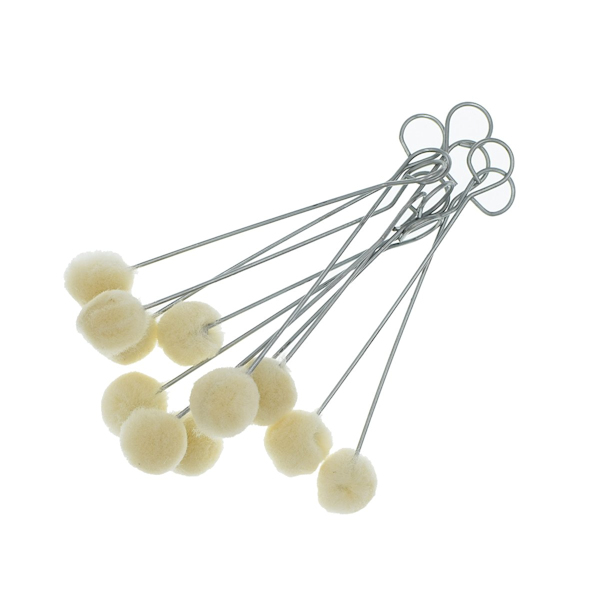
These wool balls on a thin metal handle allow greater control and consistency when applying dyes to larger areas and edging and are reusable when cleaned.
Additional Tools you might consider
Depending on the type of project you are doing you may also benefit from the following tools
- Stitching pony
- Pricking irons or chisels
- Leather skiver
- Rivet Setters
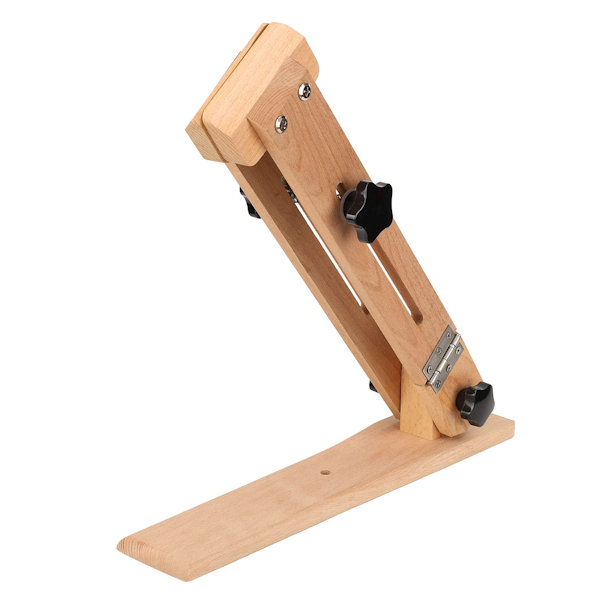
Stitching pony:
This a usually a wooden clamp with 2 soft jaws that hold 2 or more pieces of leather parts together to make hand stitching easier. Stitching ponies usually clamp to the workbench or are held in place by sitting on their base. They come in different sizes to accommodate different size projects.
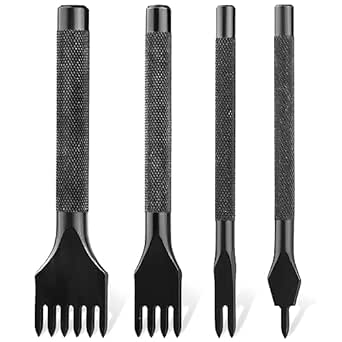
Pricking irons or chisels:
These pronged tools are struck with a mallet to punch or mark multiple stitching holes at once. They come in different spacings and hole sizes/patterns to accommodate different threads and project needs. Smaller spacing and holes are used for smaller projects like wallets and purses. Common patterns include diamond and standard. The irons also typically come with between 1-6 prongs. More prongs make punching holes faster but can be difficult to remove when punching thicker leather. Fewer prongs make punching or marking around curves easier.
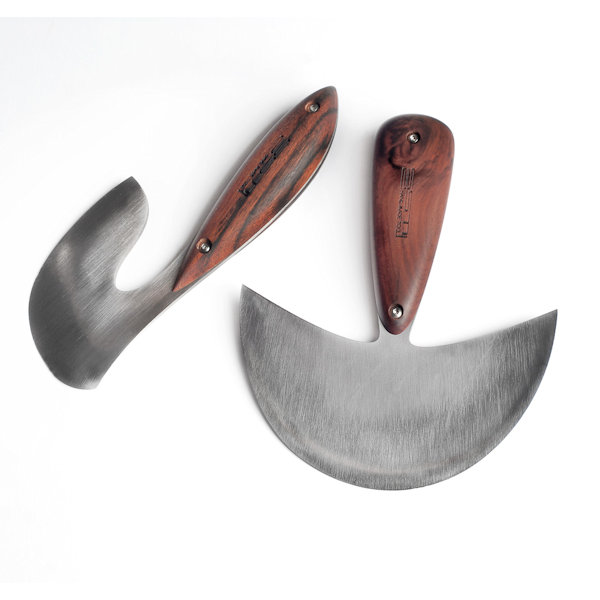
Leather Skiver:
This flat bladed knife is used to skive or thin the leather. Useful when you want to overlap and glue 2 pieces of leather together without increasing the thickness of the join. Typical styles are a crescent, half crescent square or rectangular shape.
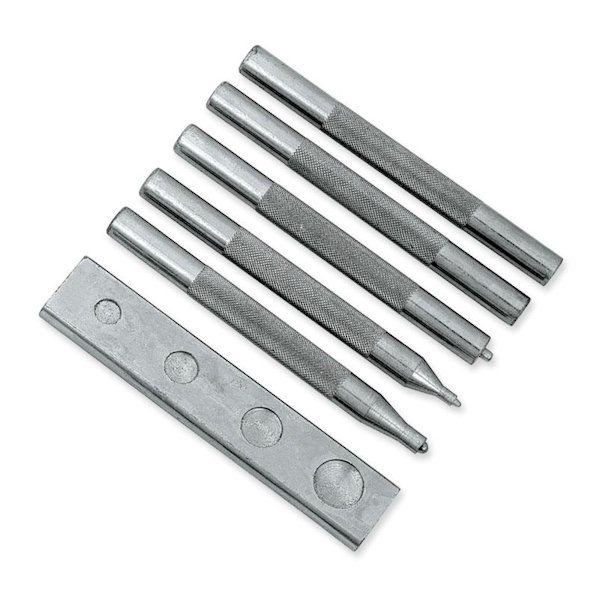
Rivet setters:
A specially shaped metal block used to set domed or double-sided rivets or to set snap connectors. These typically come in multiple sizes along with a setting tool specifically for the size of rivet or snap used.
Working with Leather
Precise marking and cutting are crucial in Leathercrafting:
Marking:
Use a scratch awl, callipers or a non-permanent pen to mark your cutting lines. Ensure your measurements are accurate. If possible, mark the rear of the leather rather than the face, but remember to take this into account when measuring from edges.
Cutting:
Place your leather on a cutting mat. Use a utility knife or rotary cutter along with a steel ruler for straight cuts. For curved cuts, leather shears or a rotary cutter work well.
Gluing:
Gluing leather pieces together is straightforward. For the best results you should roughen or scratch the two surfaces that will be glued together before gluing, especially if they are very slick surfaces or have been surface finished. When applying the glue, use a thin and consistent layer. Join the two pieces together and apply firm pressure as the glue dries. Typical types of leather glue include solvent-based contact adhesives, water-based contact adhesive, PVA and more traditionally wheat paste glue.
Dyeing:
Dyeing allows you to add colour and personality to your leather projects:
Preparation:
Clean the leather with a degreaser to remove any oils or finishes.
Application:
Use a sponge or cloth to apply dye evenly. Work in thin layers, allowing each layer to dry before adding another.
Sealing:
Once dyed, apply a leather sealer to protect the colour and finish.
Stitching Leather
Stitching is a fundamental technique in Leathercrafting:
Marking holes:
Use a stitching groover to create a groove along your stitching line. This helps keep the stitches even.
Punching Holes:
Use a leather punch or stitching chisel to create holes along the stitching line.
Stitching:
Thread a harness needle with waxed thread. Use a saddle stitch for strong and durable seams. This involves passing two needles through each hole from opposite sides.
The saddle stitch
This is probably the most common form of stitching used when stitching by hand. Threads pass back and forth on both sides of the leather through each hole locking the thread in place unlike machine stitches where the threads stay on one side of the leather and only interlock in between the leather pieces.
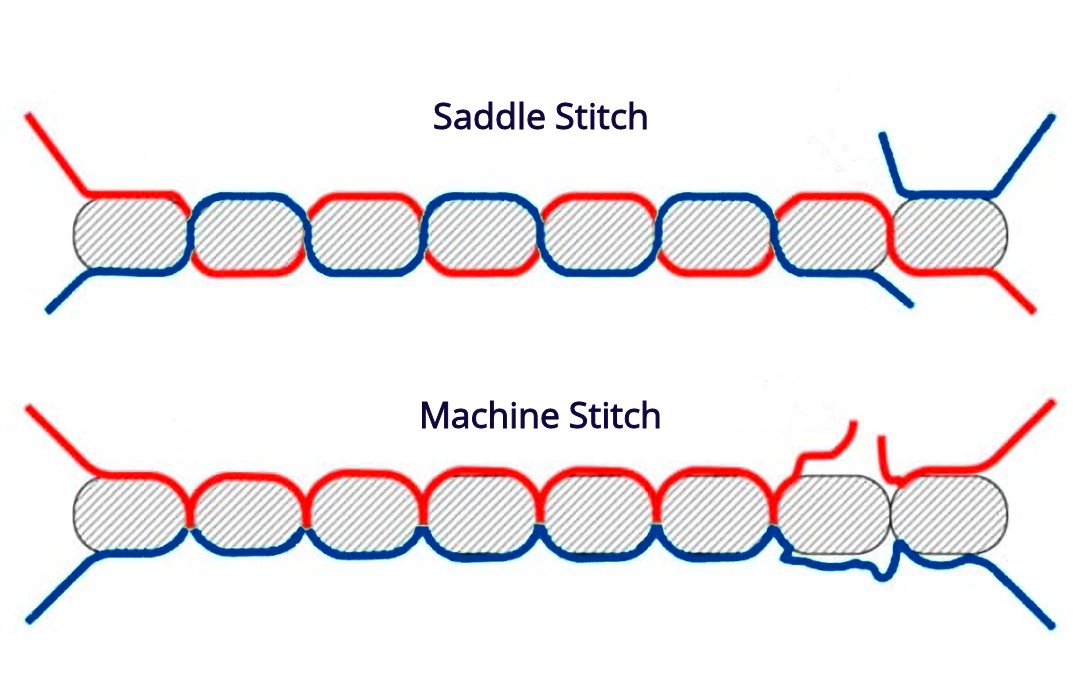
When a thread is broken the saddle stitch will loosen at that point but the remaining stiches remain locked , unlike machine stich where the threads on both sides will become loose.
Embossing, Carving and Moulding Leather
Adding designs through stamping or branding can personalize your projects, moulding allow you to form the leather to a specific shape, useful when creating sheaths for knives or torches:
Stamping:
Use metal stamps and a mallet to imprint designs onto the leather. Wet the leather slightly to make it more receptive to the stamps.
Branding and embossing:
Branding irons or embossing tools can create deep, lasting impressions. Heat the branding tool and press it firmly onto the leather. The effect will depend on the type of leather, its weight and finish.
Moulding:
Leather can be wet moulded around objects such as a knife, torch or phone to provide a snug pocket or case for the object. Wrapping the object in clingfilm first prevent water damage. Fine details and shape can be retained as the leather dries out. Other methods include making an inner and outer wooden mould between which the wet leather is sandwiched under pressure until it dries out.
